Revit Columns – Architectural and Structural – some tips and pointers
If you’ve been using Revit any length of time, you’ll have seen that Revit has 2 types of columns, namely Structural and Architectural.
The functional difference is obvious however, some explanation of the differences between the two is worthwhile:
Revit Columns – some general points:
All columns in Revit are component families, that is to say you pick from a list of the available families in the project and you can load more if you need a different type. Additionally, ou can also make your own using a component family template. If you try to load a structural column whilst in the Architectural column command, and vis-versa, you get an error so just hit escape twice to exit the command.
One point to keep in mind is that when I click on an Icon to execute a command in Revit where there is more than one option available (indicated by the little downward arrow), Revit picks the top option if I just click on the Icon (saves you time). Interestingly, in the Architectural tab, Structural Columns are the first option for the Column command so if you hit the Icon rather than clicking on the drop-down arrow, you get Structural Columns. You just have to take an extra second to select the right one!

Architectural Columns:
Architectural columns are placed with their insertion point at their base and then their height is defined from that point upwards. This can be changed when inserting the column.
Architectural columns are stored in 2017 in the Metric Library in the “columns” folder. I personally feel that could have been named a little bit more descriptively.
Architectural columns adopt the material of any walls that touch them. That might be useful but in cases where it is not, you can select the column and open it in the Family Editor, then in family types & parameters dialogue, you can un-tick the button that says “automatically join geometry in walls”.

Structural Columns:
Structural columns are stored in 2017 in the Metric Library in the “Structural columns” folder. At least that’s an obvious place to find them!
Structural columns have an option to be slanted when you first place. You can switch this option on and off after you create the column though.
Structural columns are placed by default at the top and then the length is the depth but this can be over-ridden.
Structural columns will display as a symbolic line when the view detail level is set to low.
Structural columns can be placed quickly using the place at Grid tool. Unfortunately, Architectural columns do not have this option.
Tricks with Columns:
You can split columns horizontally but not vertically by going into a 3D, Elevation or Section view, then activating the split tool then clicking on the column you wish to split.
If you open a column in the family editor you can actually change it from a structural to an Architectural column and vis-versa. That’s handy to keep in mind if you have a column that you need to re-purpose or you download it only to find it is the wrong “flavour”.
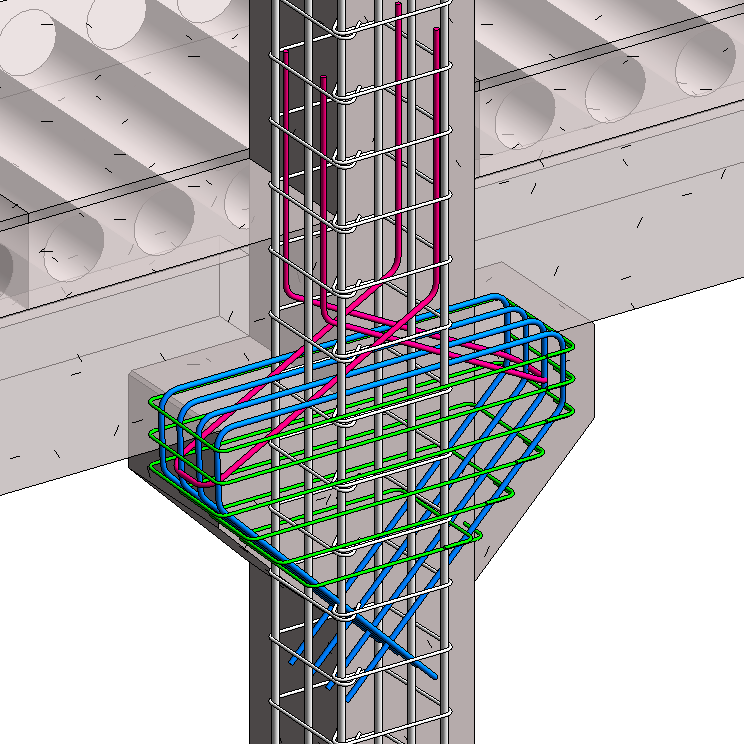
Very complex columns can (and have) been created to represent real world constructions.
There are a variety of joining and coping tools that can be used to adjust geometry to reflect real world construction.
Another interesting point is that an Architectural & Structural columns show their internal construction by default in Plan view even if the view cut-plane does not cut through them. This is in line with the conventions that we have been using in working drawings for years. You can however go into the family editor and then in family types & parameters, you can un-tick the button that says “show family precut in plan views”.
We hope this general overview has provided some insight into Revit Columns. Have fun!